In this step, you will configure each the installed modules to be included or excluded from the scan.
If you do not currently have any "live" instruments available, you can use BenchVue in the Demo Mode with simulated instruments and measured data for this tutorial. Some functionality shown in the Demo Mode may not be available for your particular instruments. To enable the Demo Mode, go to the Manage Instrument Panel and select "Enter Demo Mode". To connect to actual instruments on your bench, select "Exit Demo Mode". For more information on connecting to instruments, see Connect to Instrument Panel.
Note: This tutorial assumes that a 34901A or 34902A multiplexer module is installed in the instrument. Be sure that you do not have any channels connected to external equipment or signal sources for this tutorial.
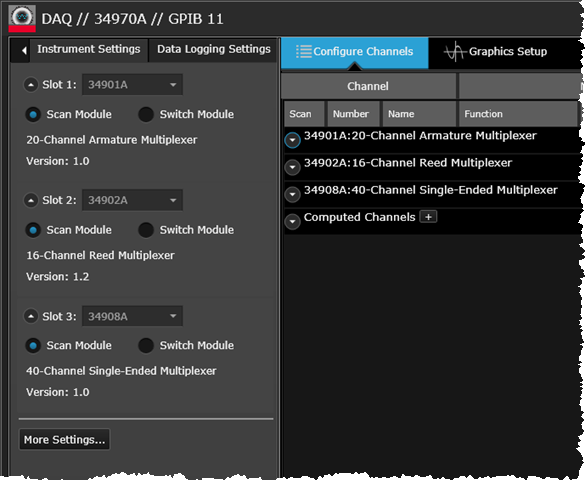
When you launch the DAQ application, you will notice several tabs along the top of the application window. Select the Instrument Settings tab to configure the installed modules. If you are connected to an actual instrument, the Instrument Settings tab will be pre-populated with the modules currently installed in the three slots in your instrument.